Yesterday, I had a fantastic time. I went on a
bread baking course at the
Hamdmade Bakery in Slaithwaite (pronounced slath-wait or, if you are really local, Sla-wit).
As I and the other wanna-be bakers arrived we were met by Lynne. She had an air of competence and quiet confidence. She made me think of a military commander or neurosurgeon, rather than baker. At least we were going to be in a very safe pair of hands.
I've baked bread on and off for over ten years. But In the past my bread has been a bit on the dense side. Not inedible, but I knew there was something missing. The course was my Christmas present and when I booked in February this was the first course that wasn't already full. It had been a long wait but the day had finally arrived. I turned up bright-eyed and bushy-tailed with my apron, notebook and camera ready and dreams of making perfect bread.
The day started with (excellent) coffee and the bakery's own pastries. I had a delicious croissant with almonds. They do a pastry course too. I might have to sign up for that one. My classmates were a mixed bunch including surgeons, college tutors and the retired. They came from far-and-wide too - I spoke to people from London and the Midlands. We all introduced ourselves and talked about why we were attending. It was pretty much the same story: we don't like commercial bread, and we had made bread in the past but weren't happy with how it turned out (too dense in most cases). Lynne smiled and nodded. She'd heard it all before, and already knew the answer - well part of it anyway: use a sponge. No, not something you use to lather up soap in the bath, but some basic dough with a little bit of yeast that you leave overnight and add to your bread dough in the morning. It get lots of bubbles as the yeast starts to break down the starch in the flour and produce carbon dioxide - I assume that's why it's called a sponge. Apparently this is what would make the biggest difference to our final bread over previous attempts. Also, we were told that acting confident, even if we didn't feel it, was important. If you hesitate or falter when working with dough it can ruin your bread.
First, we made some white dough. Everything was measured out (flour, salt and yeast) all we had to do was mix in the water. The dough we ended up with was very sticky and wet. In the past I would have started adding flour until I got a nice firm smooth dough that didn't stick to the fingers. That was my second mistake on my quest for light, fluffy bread. Lynne told us that the dough should be sticky at first but as we kneaded it would firm up because of the gluten that developed. In order to cope with the stickiness we used dough scrapers. Always try to keep one hand clean Lynne cautioned us.
Next came kneading. I thought I knew how to knead, but (again) I was wrong. We put the mound of dough on the bench and pushed down and moved the backwards and forwards as best we could. Because it stuck to the table this helped to stretch the dough even more, which is what turns the wheat proteins into gluten. As we kneaded we were given a piece of sponge which we added slowly a small piece at a time. After 20 minutes or so the dough had become a little more cohesive and, although still softer than my usual dough, looked a little more like my previous attempts at bread dough. I've looked on YouTube but couldn't find a video showing the kneading technique we were taught - but there seem to be almost as many techniques as there are videos. I'll keep looking and when I find one I'll update this post.
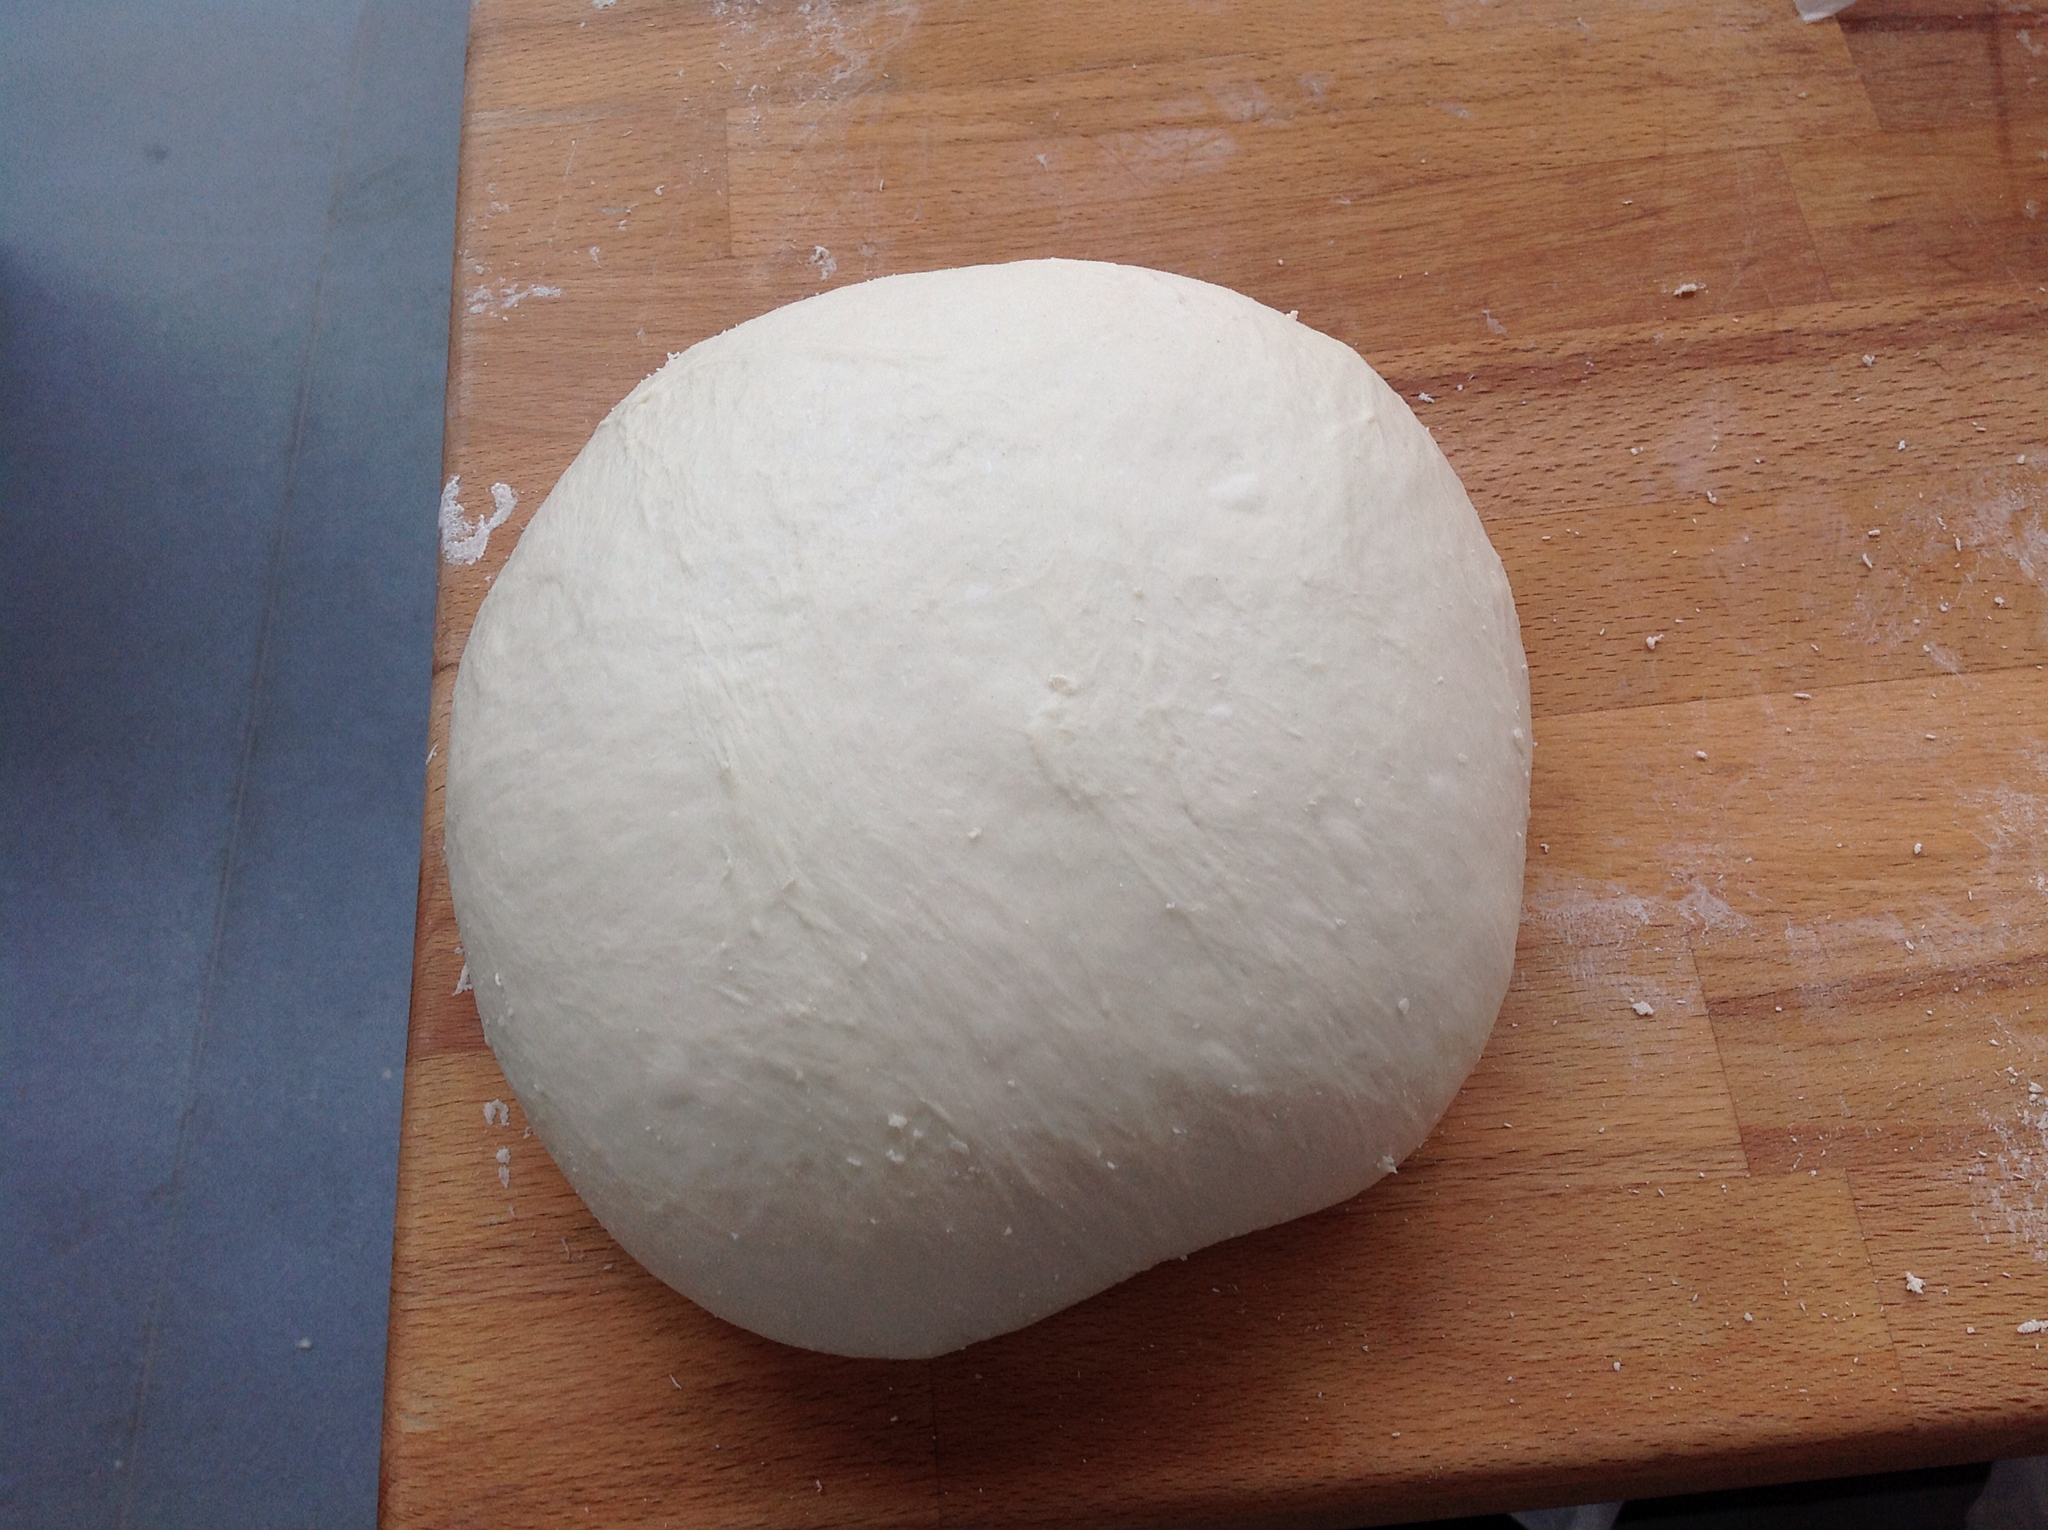
Next, we shaped the dough into a round. Normally I just stretch the dough into a rough shape and that's that but there are proper techniques that serve to further stretch the dough, build tension and develop a skin. I'd come across shaping in the
River Cottage Bread Handbook but hadn't paid it much heed. As well as the River Cottage book there are some videos about
bread shaping on You Tube.
My round of white doughWhile the dough proved in its bowl we had a glass of water and then repeated the process but this time with wholemeal flour. This was much harder - the dough was more difficult to knead and we had to keep adding more water (small amounts so the dough ended up more-or-less the same texture as the white).
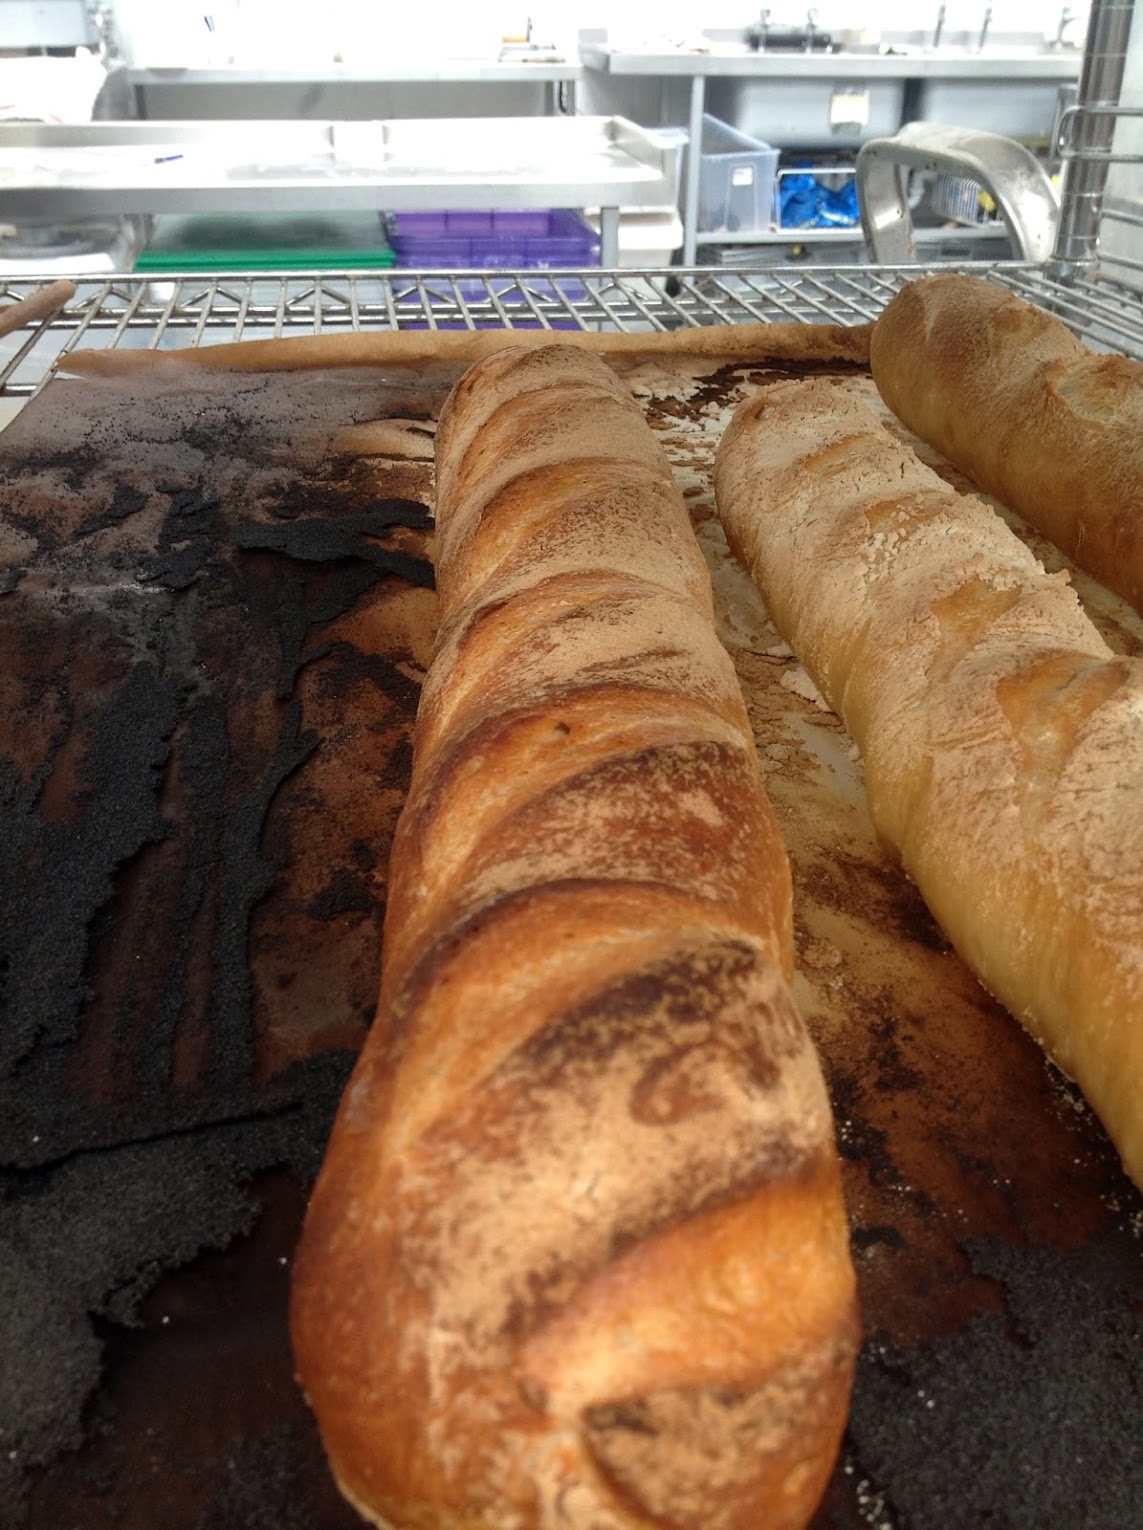
Then it was back to the white. Normally once my dough has proved I beat the living daylights out of it to get rid of all the gas. And once again, it is the wrong thing to do. Instead, you fold the dough to reduce the gas and further develop the gluten. Then we cut the dough into three - for our three different breads. I won't go into the techniques for shaping (it's all in the books and on YouTube - or better yet, go on the course) but we ended up with a baguette, a white boule and a fougasse.
The top baguette is mine Ma boule My fougasseLynne expertly loaded most of our bread into the ovens - although we all got to try using a peel to bake the boules. She also sprayed water into the ovens to create steam, this keeps the crust soft so that the bread can rise to its maximum possible size. It all looked great, but an delicious lunch of quiche and salad had already filled me up (the carrot and avacado salad was amazing) - besides there was still the wholemeal loaves to make.

The white collectionAgain we folded and shaped and ended up with three more breads: a baton, four rolls and a fruit bread (I added date and walnut). Again it all looked great - except my fruit bread (see the picture below with the burned fissure in the side).
Wholemeal bread - including singed date and walnutOver lunch and towards the end of the day (over coffee and cake) there was time for some questions. I asked if it was really necessary to warm all your equipment for making bread - not unless it is a very cold day Lynne told me, and you can include more yeast on a cold day too to help speed things along. But the message that stuck with me was that it takes time to make good bread - flavour and texture need to develop. That is why commercial bread is bland and tasteless.
The top ten tips I picked up (in no particular order):
- Be confident.
- Use a plastic dough scraper.
- Don't follow recipes too rigidly. Adapt to the seasons and use feel and intuition to guide you.
- Make an overnight sponge.
- Wet and sticky dough is good.
- Kneading technique.
- Slow.
- Shape your dough properly.
- Don't punch the dough down - fold it.
- Make steam in the oven.